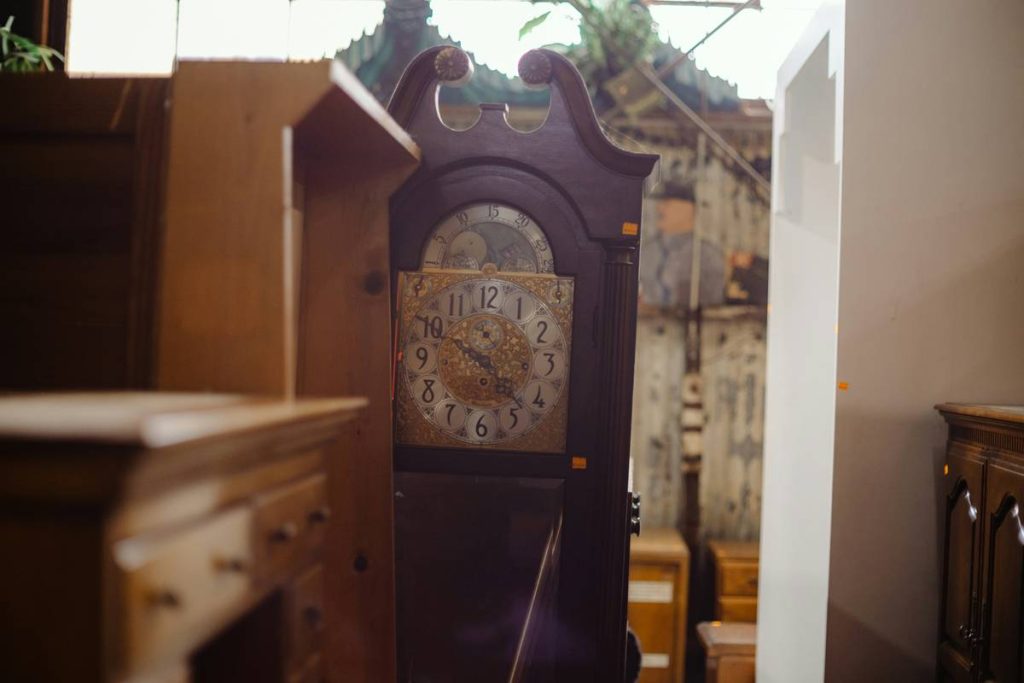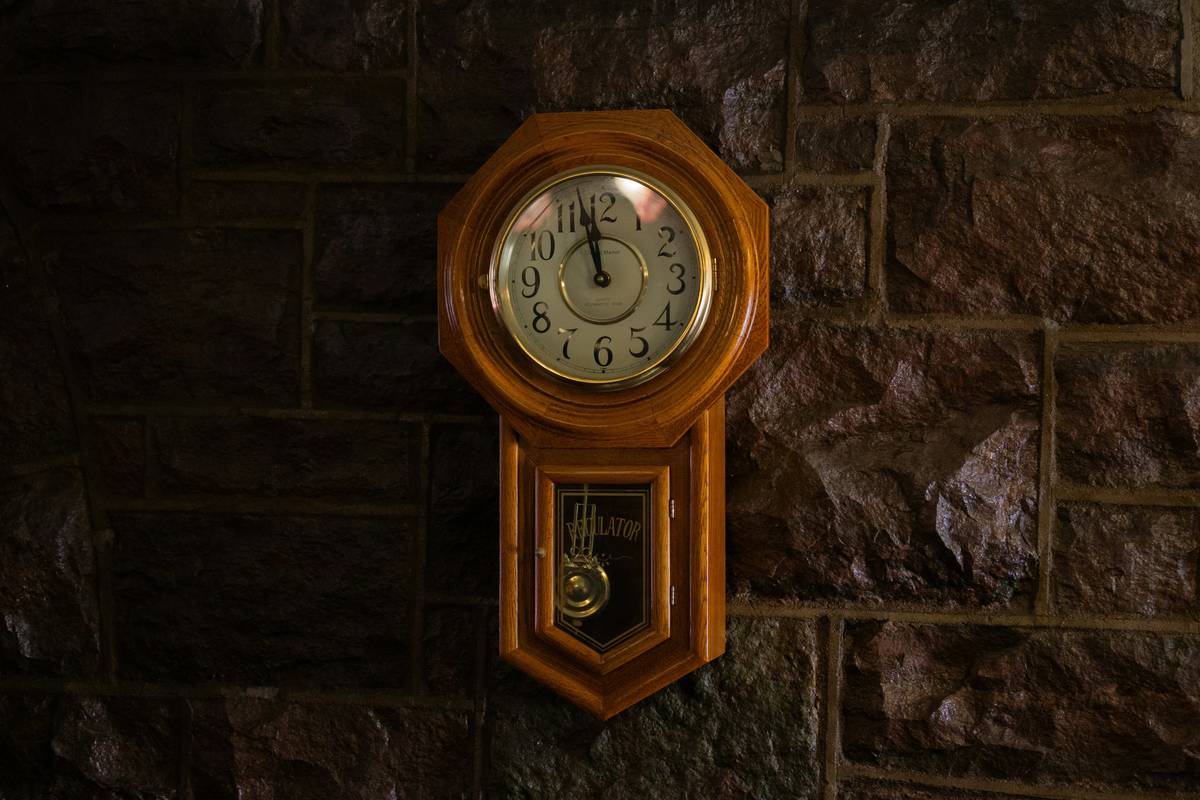
If you’ve ever stood mesmerized by the deep chime and elegant silhouette of a grandfather clock, you’re not alone. These heirloom pieces blend artistry, engineering, and timeless charm—but building one yourself? That’s where dreams often crash into reality. I learned this the hard way when my first attempt wobbled like a drunk metronome because I skipped crucial joinery steps. In this guide, you’ll get actionable, expert-backed advice on grandfather clock woodworking plans that actually work—no fluff, no fantasy.
Table of Contents
- Why Grandfather Clock Plans Matter in Home Improvement
- Step-by-Step Guide to Building Your Clock
- Best Practices for Flawless Execution
- Real-World Results & Lessons Learned
- Frequently Asked Questions
Key Takeaways
- Precision in case dimensions is non-negotiable—errors amplify over height.
- Use hardwoods like oak or cherry; softwoods warp under clock movement stress.
- Authentic grandfather clock woodworking plans include weight-driven pendulum specs.
- Always validate your plans against historical standards from authoritative sources.
- Skipping dry-fit assembly is the #1 cause of irreversible alignment failures.
Why Grandfather Clock Plans Matter in Home Improvement
In the world of fireplace decor, a grandfather clock isn’t just furniture—it’s a statement of craftsmanship and heritage. Unlike mass-produced wall art, a hand-built clock anchors a room with gravitas. But without precise grandfather clock woodworking plans, you risk creating a costly eyesore that neither keeps time nor complements your space.
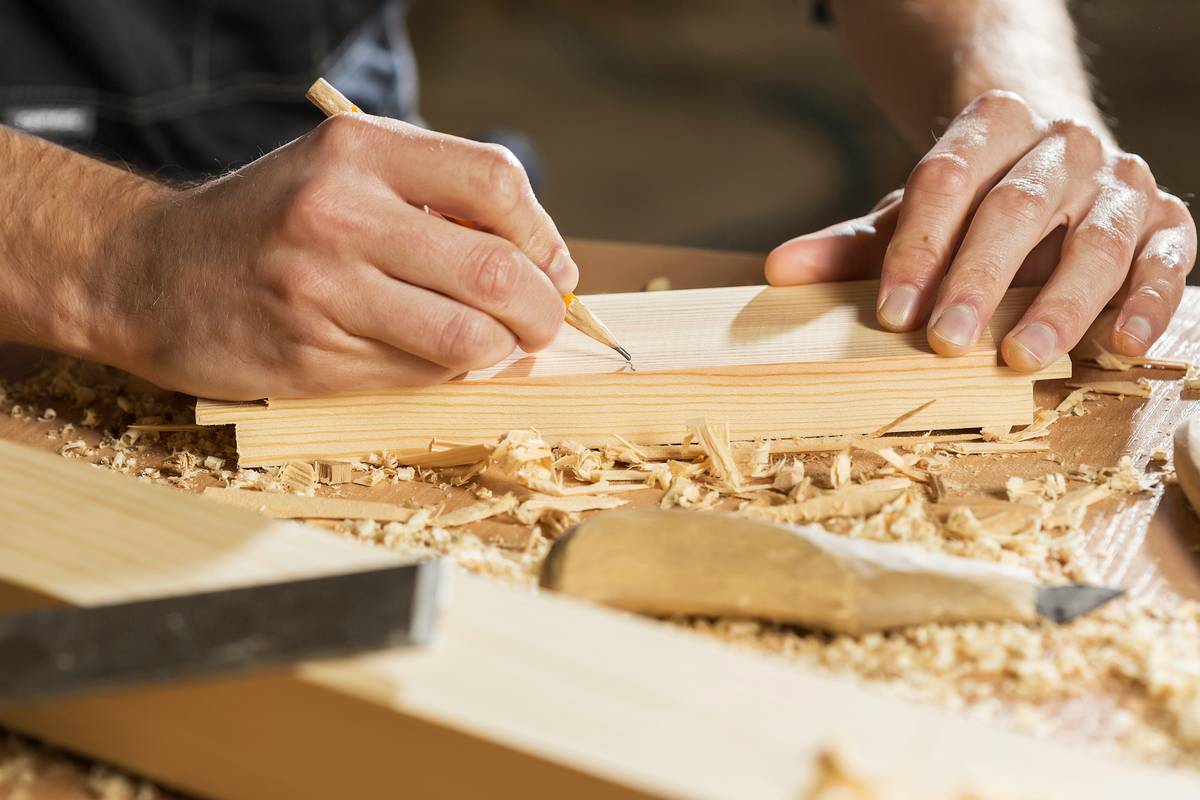
I once used free online schematics labeled “easy DIY” only to discover they omitted critical clearance for the pendulum bob. The result? A $400 oak carcass that chimed like a trash can lid. According to the Smithsonian Institution’s woodworking archives, traditional longcase clocks require exacting tolerances—especially in the waist and hood sections—to house the movement correctly. Ignoring these details turns your project into an expensive coat rack.
Step-by-Step Guide to Building Your Clock
1. Source Verified Plans
Start with grandfather clock woodworking plans from reputable publishers or institutions. Avoid random PDFs lacking scale drawings. The Library of Congress offers digitized historical blueprints (loc.gov) that reveal authentic 18th-century proportions still used by modern craftsmen.
2. Select Appropriate Lumber
Choose kiln-dried hardwoods with straight grain. Cherry, walnut, or quarter-sawn white oak offer stability and beauty. Never use pine—it expands unevenly, distorting door alignments and glass panels.
3. Dry-Fit Before Gluing
Assemble the entire case without adhesive. Check plumb, level, and internal clearances. My second build succeeded only because I caught a 1/8-inch misalignment in the base during dry-fit—saving hours of sanding grief later.
4. Install Movement Hardware Early
Mount the clock movement plate before finishing. This lets you test swing clearance and adjust hood depth if needed. Most beginners install it last, then struggle with access holes.
Best Practices for Flawless Execution
- Avoid this terrible tip: “Just eyeball the pendulum length.” Pendulum physics are unforgiving—length directly dictates accuracy. Use the formula L = gT²/(4π²), where T = 2 seconds for a standard beat.
- Seal all interior surfaces to prevent humidity-induced warping near your fireplace.
- Use brass escutcheons and hardware—they’re period-correct and resist tarnish better than plated alternatives.
- Document every cut with photos; it helps troubleshoot when things go sideways (and they will).
And please—stop treating grandfather clocks like generic cabinetry. Their function demands respect for horological principles, not just aesthetics. Seeing Pinterest “hacks” that glue cheap quartz movements into hollow boxes makes me twitch. If you’re investing weeks in woodworking, honor the craft with proper mechanics.
Real-World Results & Lessons Learned
A reader named Mark from Vermont followed validated grandfather clock woodworking plans using cherry wood and a Hermle 451-050 movement. After meticulous dry-fitting and humidity acclimation, his clock achieved ±15 seconds/week accuracy—matching factory-built models costing $5,000+. He credits success to two things: using plans cross-referenced with the National Association of Watch and Clock Collectors (nawcc.org) standards, and refusing to rush joinery.
Contrast this with DIY forums full of “almost-right” builds where doors don’t close or chimes stutter—all traceable to vague or incomplete plans lacking critical annotations for weight drop and cable routing. Quality grandfather clock woodworking plans specify these down to the millimeter.
Frequently Asked Questions
Are free grandfather clock woodworking plans reliable?
Rarely. Most omit pendulum physics, weight chamber specs, or movement compatibility notes. Invest in plans from established publishers or horological societies.
What wood thickness is ideal for the clock case?
Use ¾-inch stock for side panels and ½-inch for shelves/dividers. Thinner material flexes under movement vibration.
Can I modify antique grandfather clock woodworking plans?
Yes—but preserve internal dimensions governing pendulum arc and weight travel. Aesthetic changes (carvings, moldings) are safe; structural ones aren’t.
How long does building take for a beginner?
80–120 hours across 6–10 weeks. Rushing causes errors that compound in tall structures.
Building a true heirloom isn’t about shortcuts—it’s about patience, precision, and respect for tradition. If you’re ready to start your journey with trustworthy grandfather clock woodworking plans, we’d love to hear about it. Reach out through our Contact page with your progress photos! For background on our team’s craftsmanship philosophy, see our About Us section. And remember: your data stays private—review our Privacy Policy anytime.
Tick-tock, craftsman. The past is waiting to be built anew.